Introduction
In the previous three posts we have created a local kubernetes cluster, with the Django Rest Framework App, a Postgres database, and an Nginx proxy. It is now time to show it to the world, by deploying it to an Azure cluster.
What you need
To follow along you will need the following:
- An Azure subscription, you can get free Azure subscriptions if you need one.
- The code from this project, which can be found on github
- Install az bash or az powershell on your system
- Make sure you have an IDE like Visual Studio Code installed.
- A version of Docker desktop running locally to build the Docker image
Create the resource group
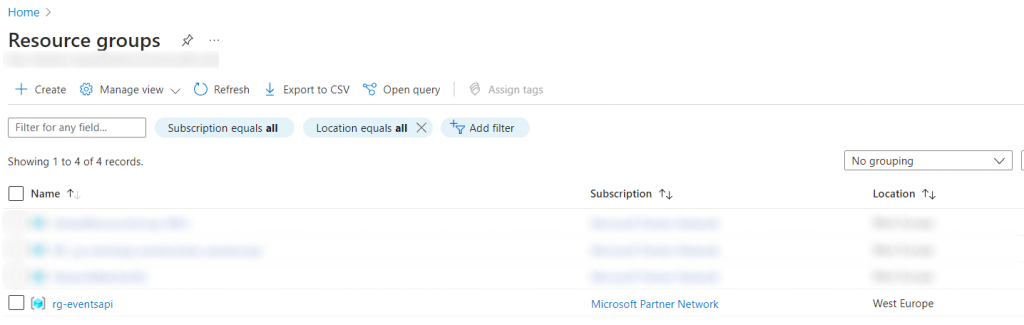
First log in to your Azure portal and go to ‘Resource Groups’ in the left hand panel:
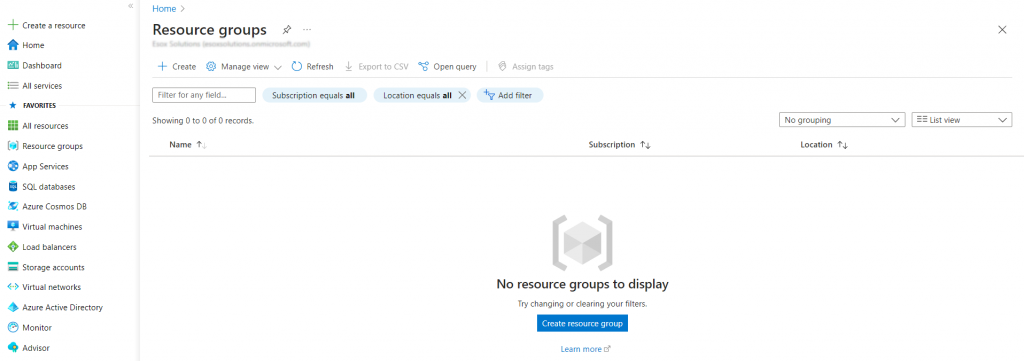
Click on the ‘+’ to create the resource group:
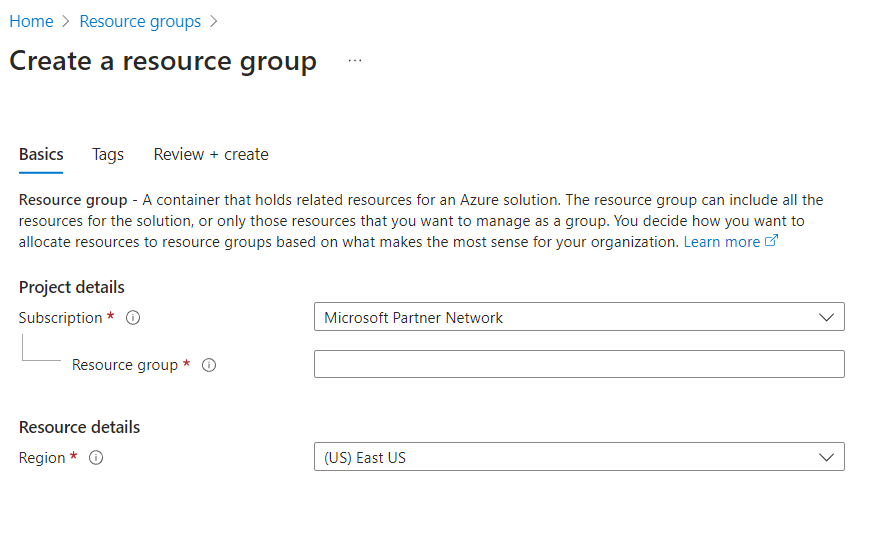
Now fill in the name for the group and the region. I chose ‘rg-eventsapi’ for the name of the group and ‘West Europe’ as the region, since that is closer to me.
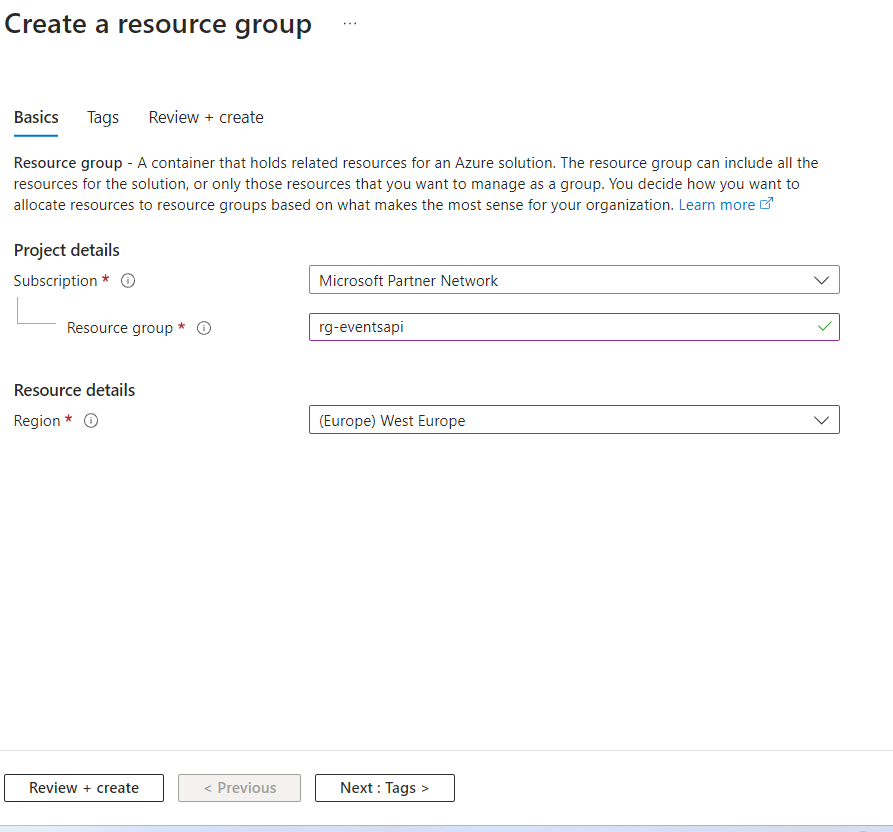
Click on ‘Review + create’:
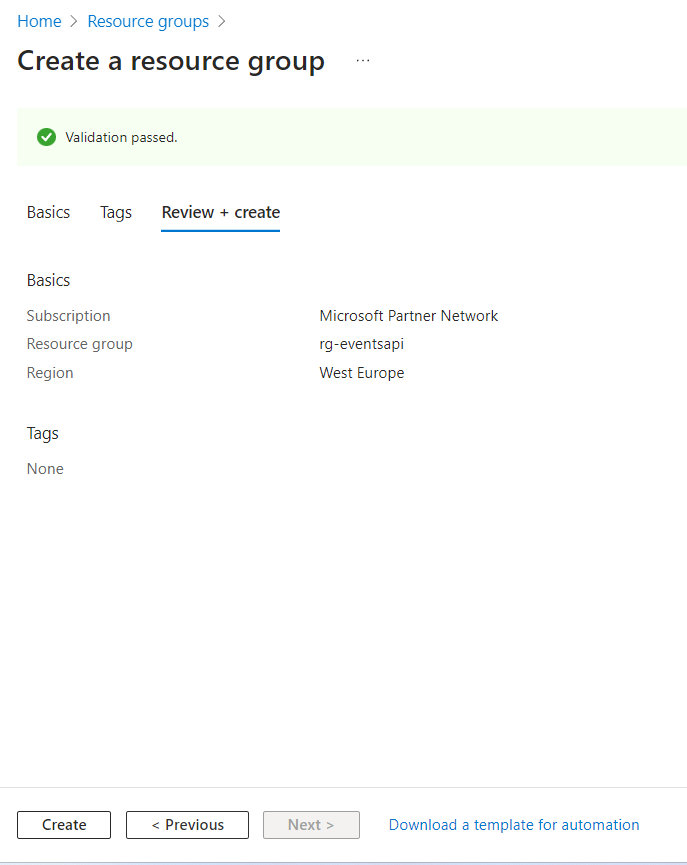
Click ‘Create’ and you will be presented with a screen similar to this one:
Go to ‘Create a resource’ in the left panel:
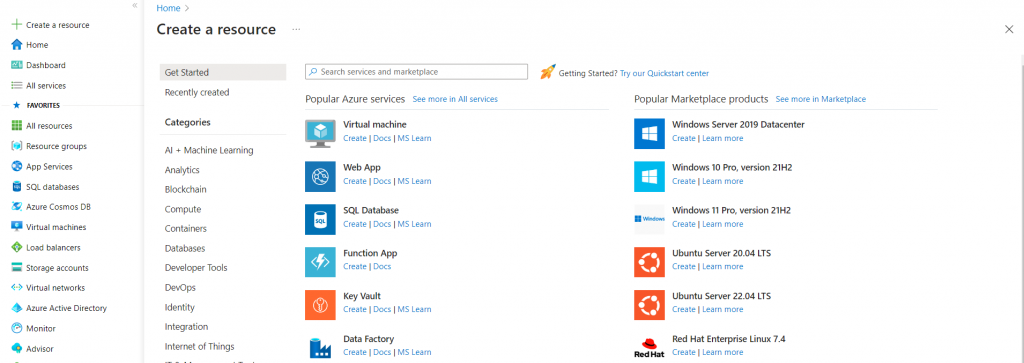
Type in ‘azure kubernetes service’:
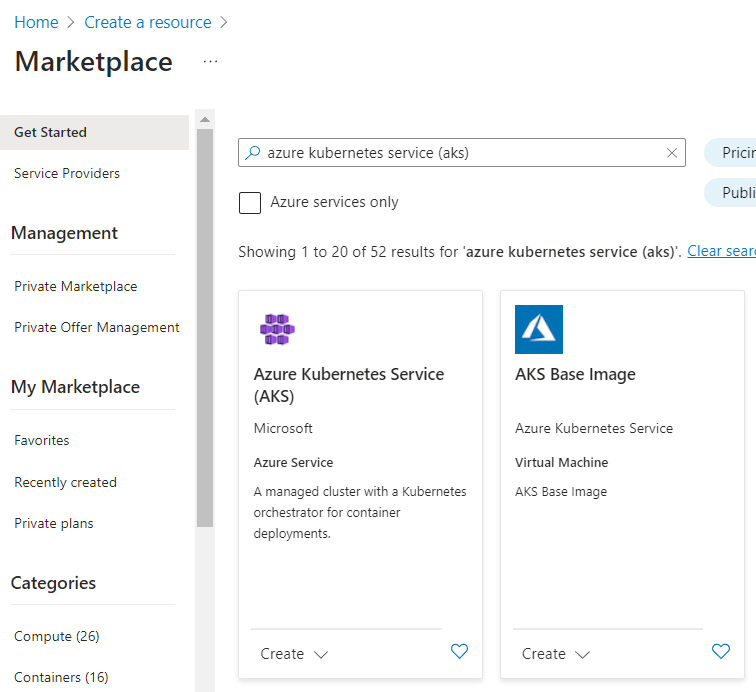
Click on the ‘Create’ button:
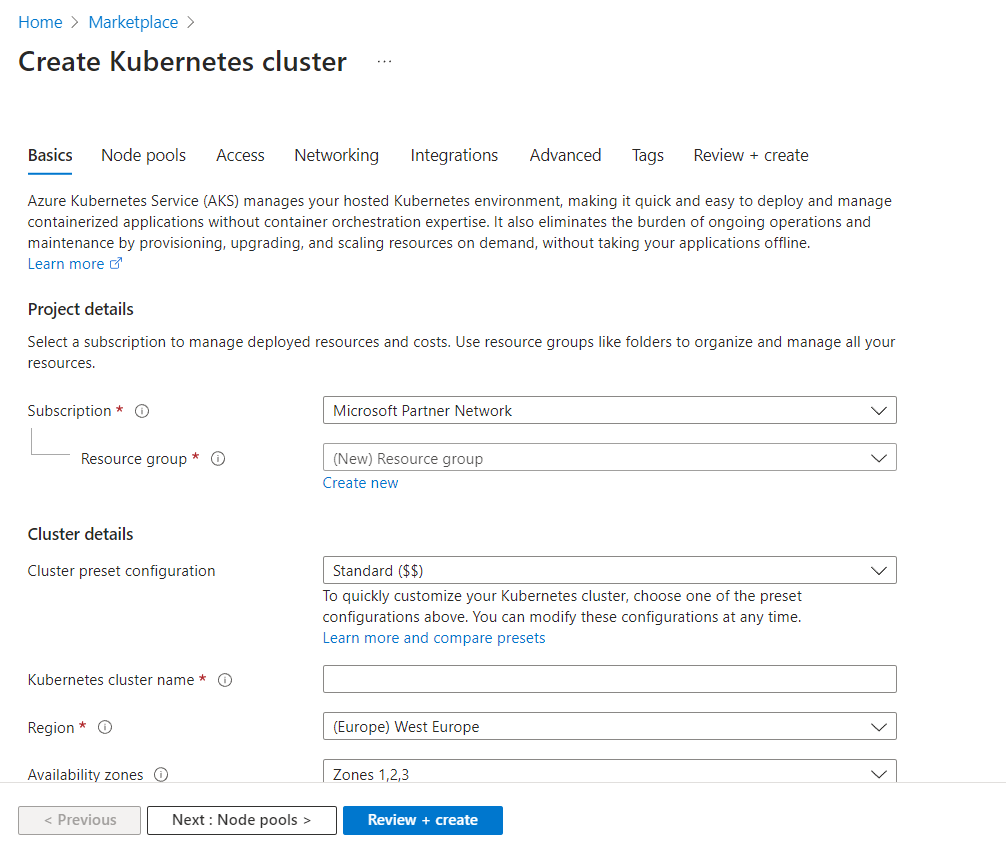
You can fill it in like this: choose eventscluster as the cluster name, and the Cluster Preset Configuration to be ‘Dev/Test’. Again, I chose ‘West Europe’ as my region as this is closest to where I live. Also choose rg-eventsapi as the resource group name.
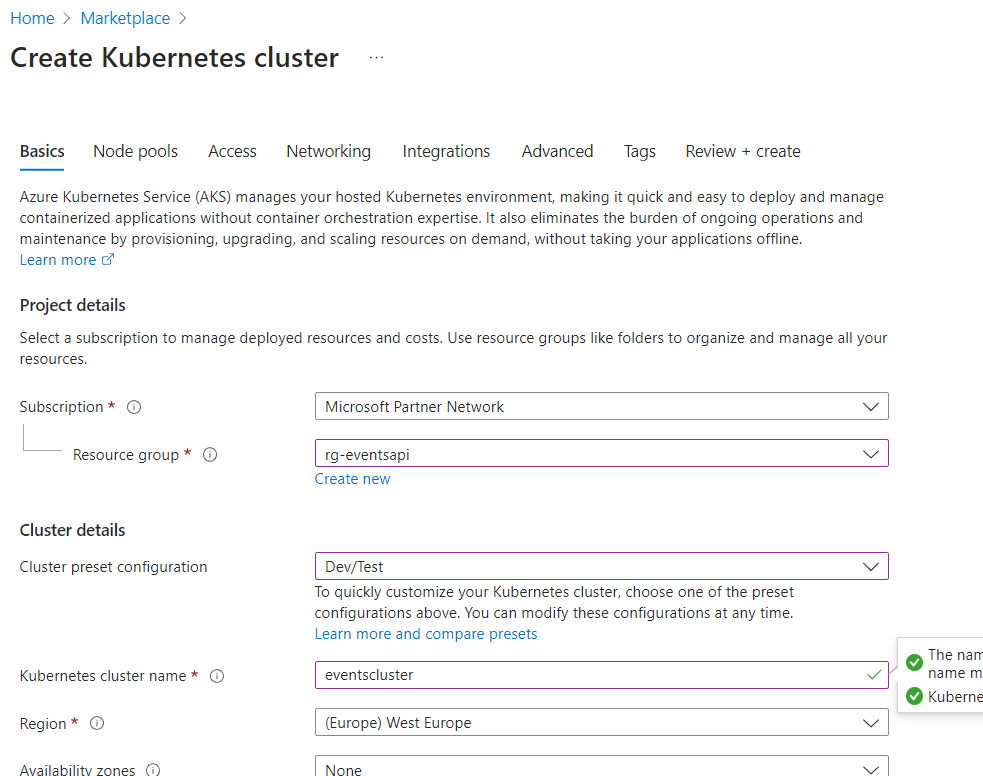
Leave the rest of the settings, only change this:
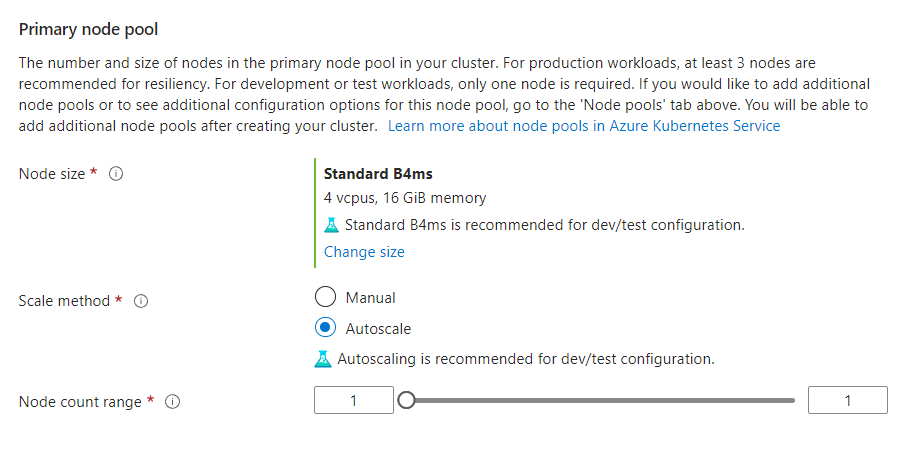
You are using the cheapest option, so you cannot scale. Since the project is small, and not meant for production purposes, this is no problem.
Click on ‘Next’:
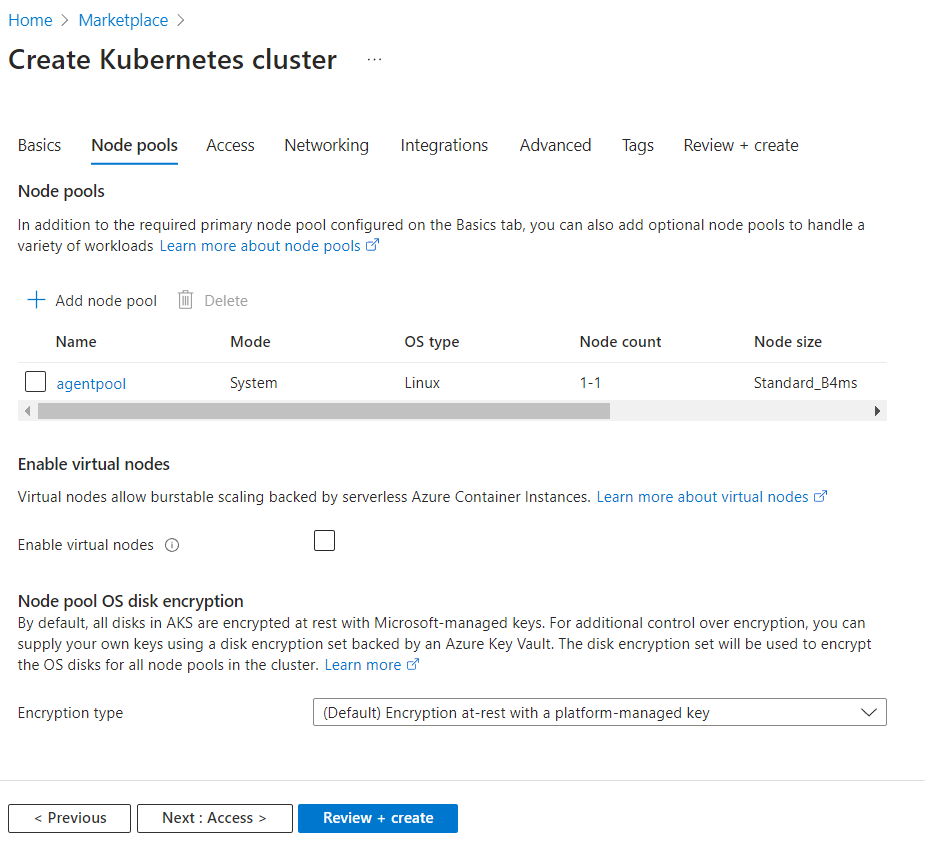
Also leave these as is, click ‘Next: Access’:
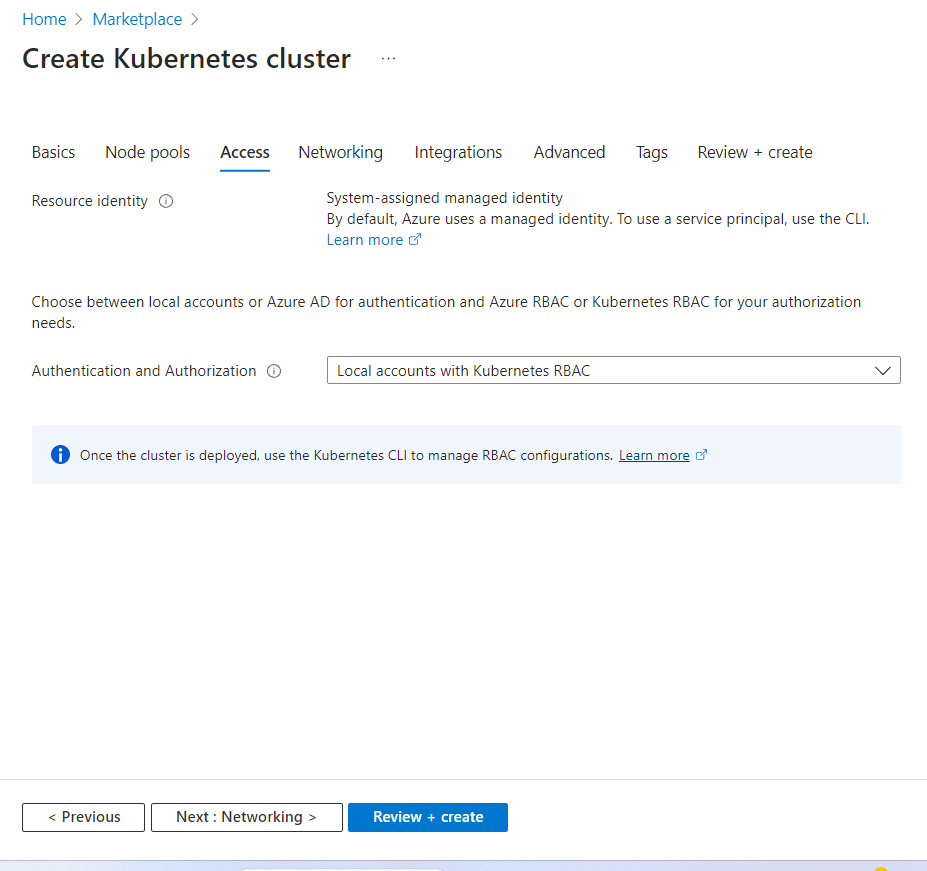
You can leave these as is as well, click ‘Next: Networking’:
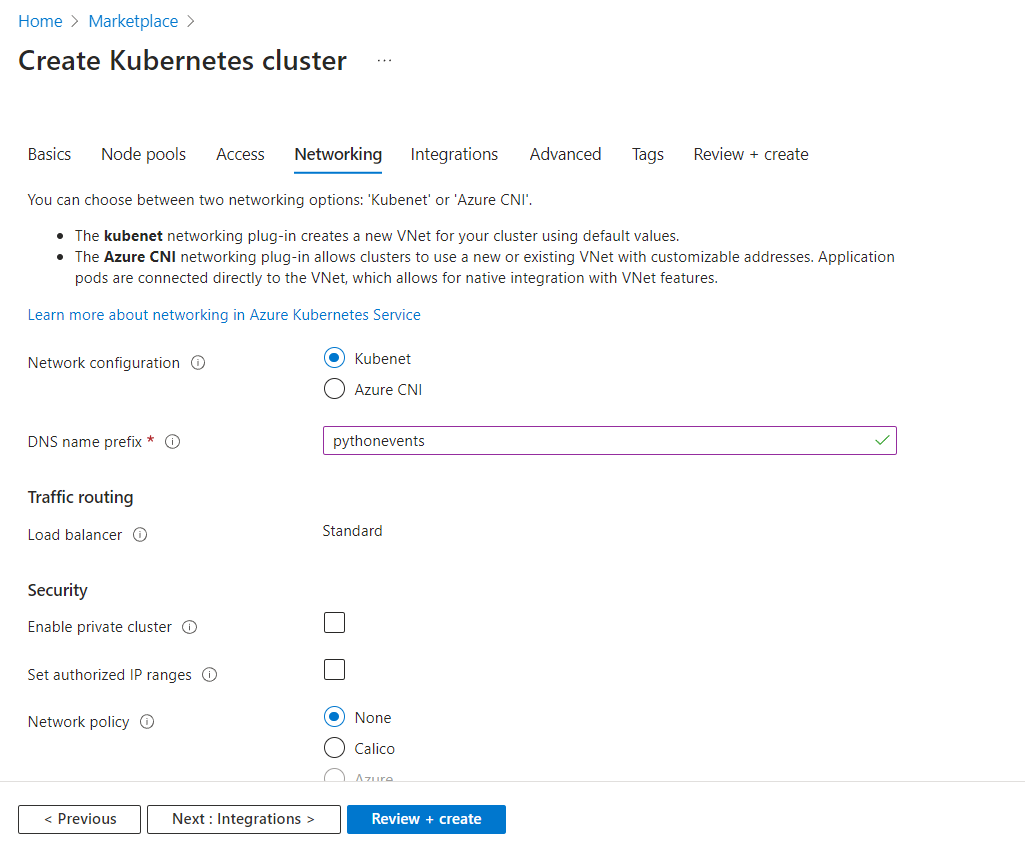
Here you can fill in the DNS name prefix as ‘pythonevents’. Now click ‘Next: Integrations’:
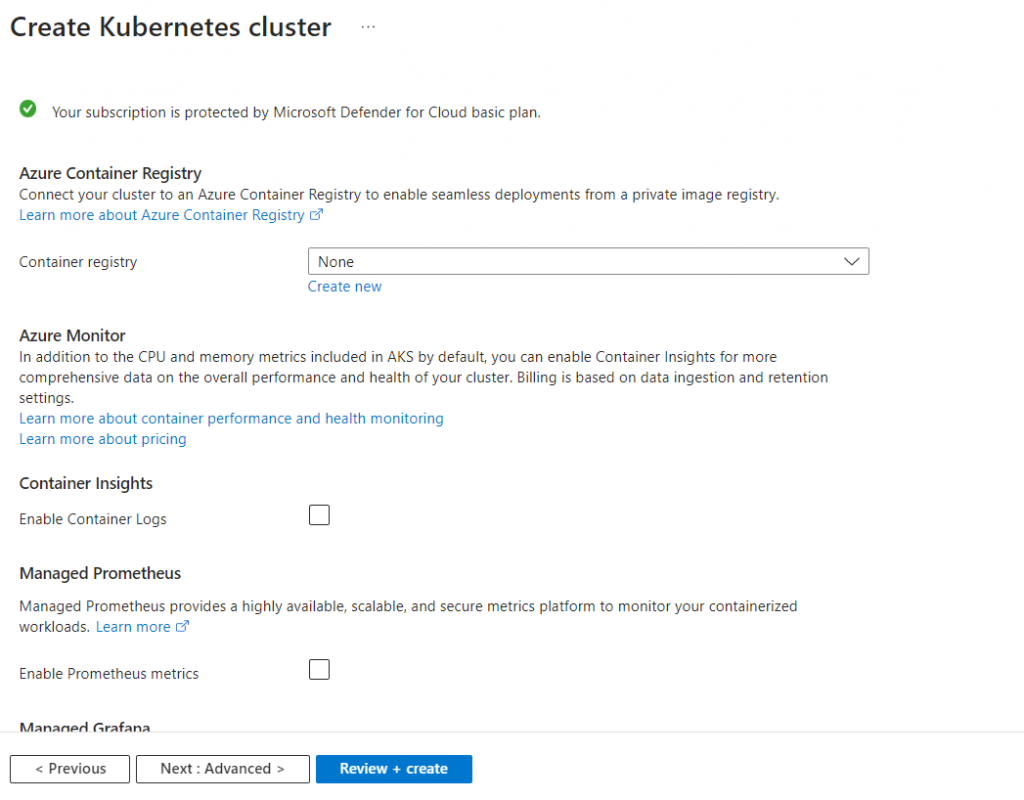
Leave these as they were, click ‘Next: Advanced’:
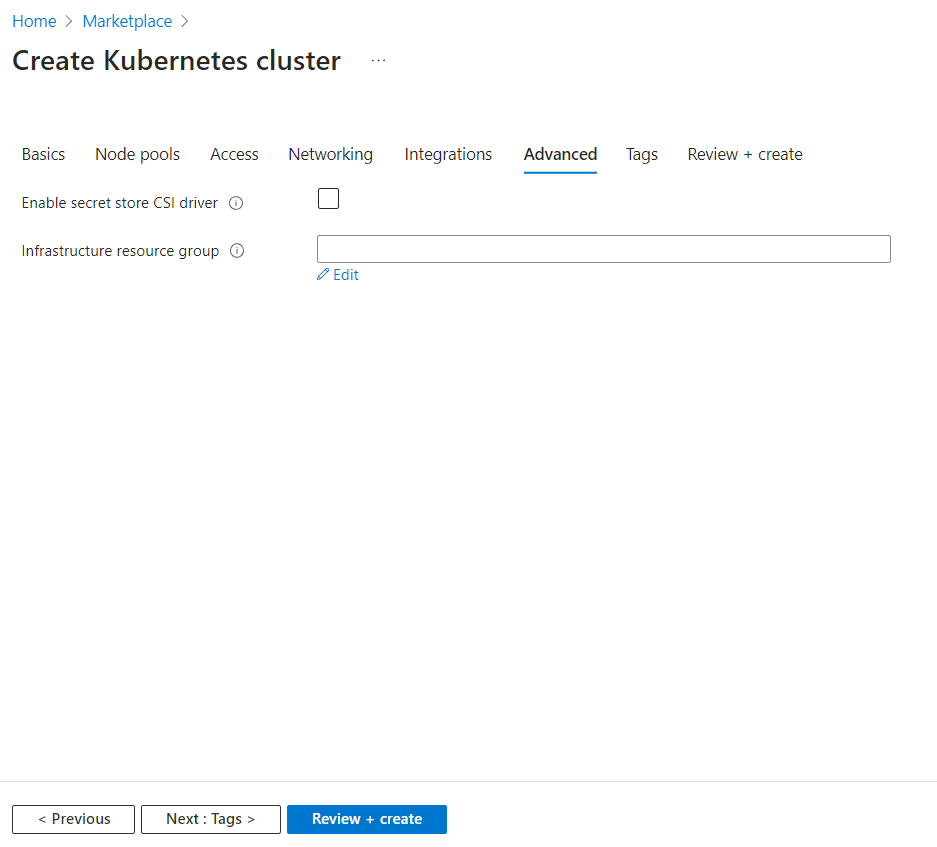
Nothing to change here, click ‘Review + create’:
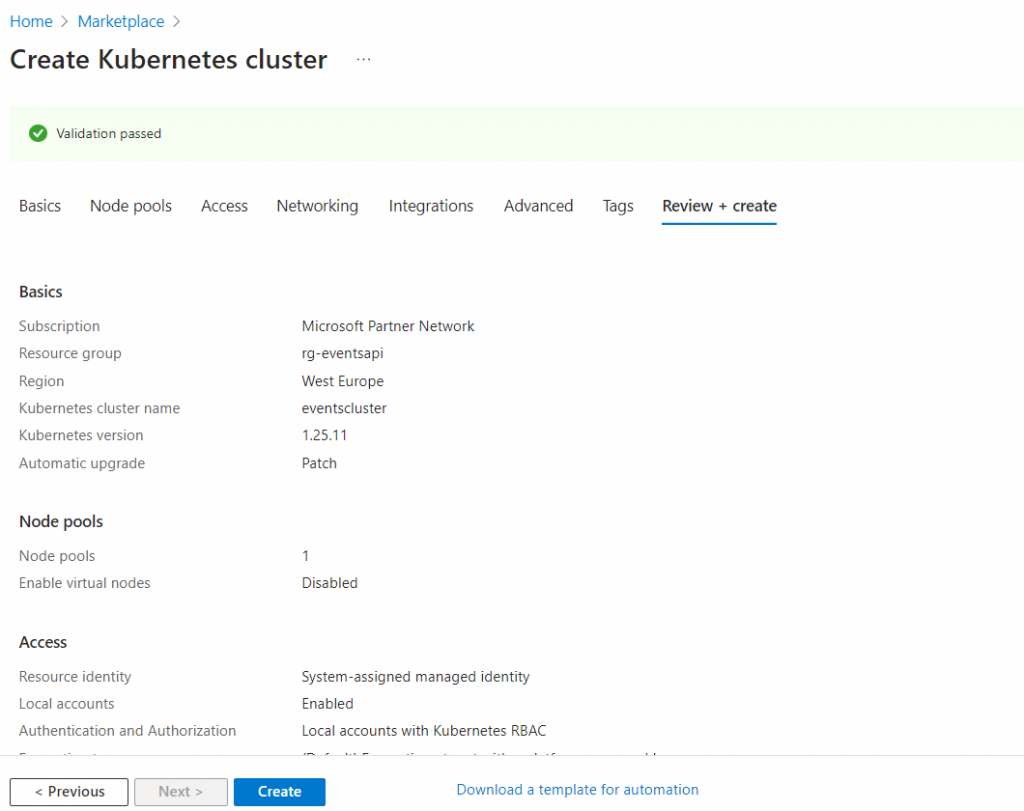
Click ‘Create’ if all has gone well:
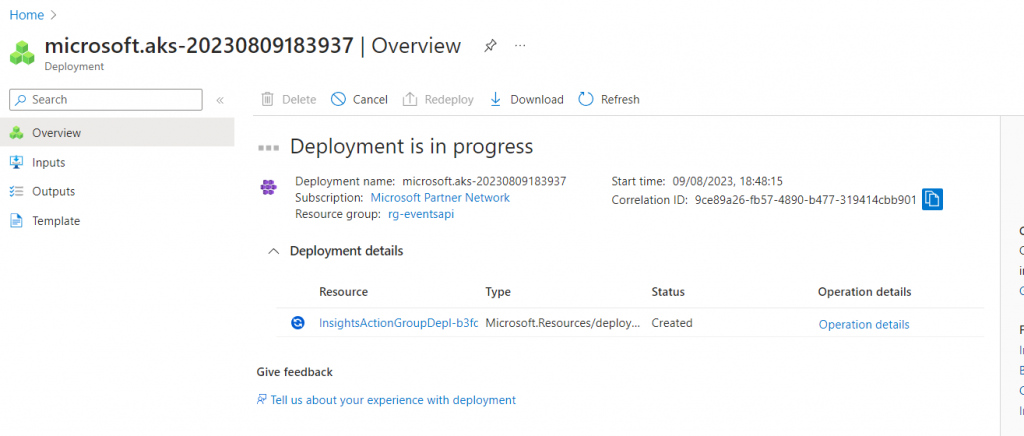
Deploy an AKS-cluster can take some time, but after it has finished you will be presented with this screen:
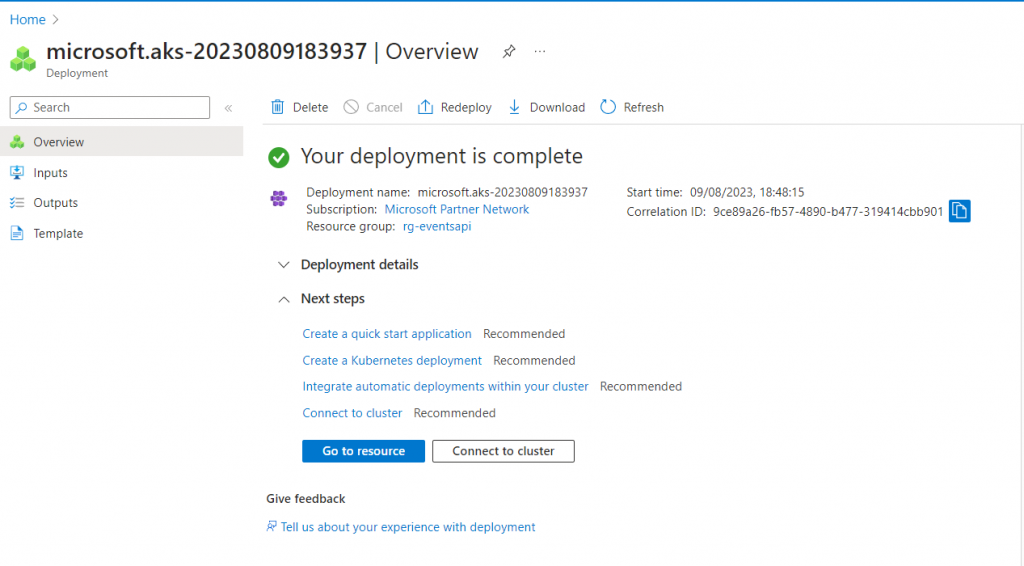
Click on ‘Connect to cluster’ to get information on how to connect to your AKS-cluster.
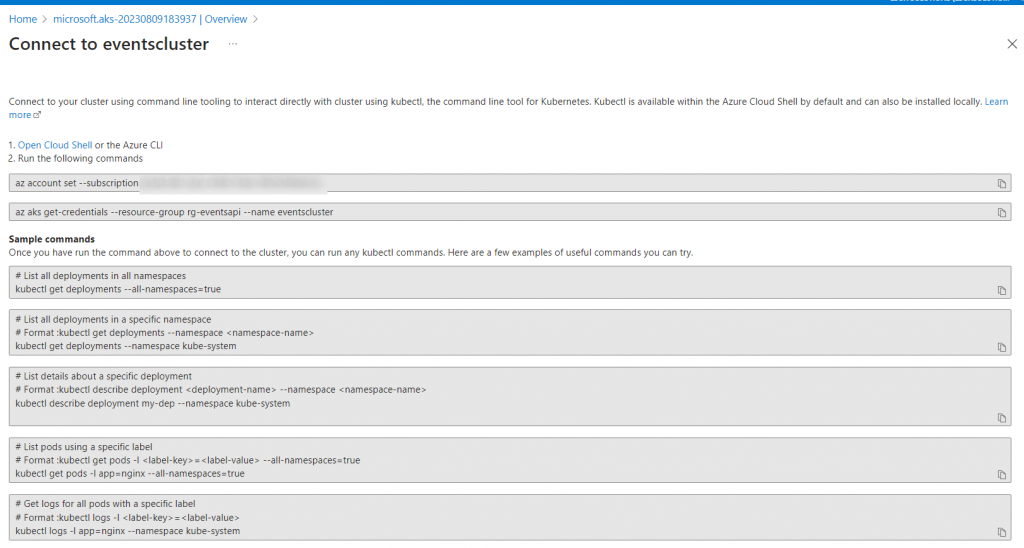
Now in your terminal type:
az account set --subscription <your subscription id>Next we connect to the cluster itself:
az aks get-credentials --resource-group rg-eventsapi --name eventscluster
It could be that you have to login again to Azure, but instructions will be provided onscreen.
Checking out the code
In your terminal in an empty directory type:
git clone https://github.com/snoekiede/eventsapipython.git
cd eventsapipython
Building and pushing the Docker image
Make sure Docker is running before you do this. Type in your terminal:
docker build -t <your dockerhub username>/pythoneventsapi:v1 .
docker login
docker push <your dockerhub username>/pythoneventsapi:v1
Now open your favorite IDE in this directory, and find the file ‘kubernetes/web-deployment.yaml’. In this file, find the line that reads:
image: <your dockerhub username>/pythoneventsapi:v1 and fill in your username.
Deploy the database
We will start by deploying the database. First type in your terminal:
cd kubernetesNow type in your terminal:
kubectl apply -f db-configmap.yaml
kubectl apply -f db-persistent-volume.yaml
kubectl apply -f db-persisten-volume-claim.yaml
kubectl apply -f db-deployment.yaml
kubectl apply -f db-service.yaml
Some explanation is in order:
- The configmap contains all the information about the database, like hostname, username, password etc.
- The persistent volume and the persistent volume claim make sure the database has somewhere to store its data
- Then we deploy the data itself,
- Finally we make sure our database is accessible through a service.
Deploying the webapp
This one is a little easier:
kubectl apply -f web-deployment.yaml
kubectl apply -f web-service.yaml
Deploying the Nginx proxy
This is also quite easy:
kubectl apply -f nginx-configmap.yaml
kubectl apply -f nginx-deployment.yaml
kubectl apply -f nginx-service.yaml
Testing it
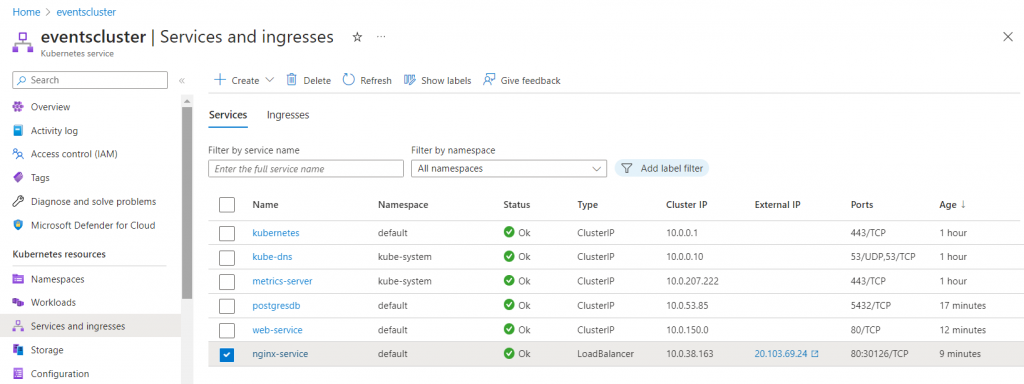
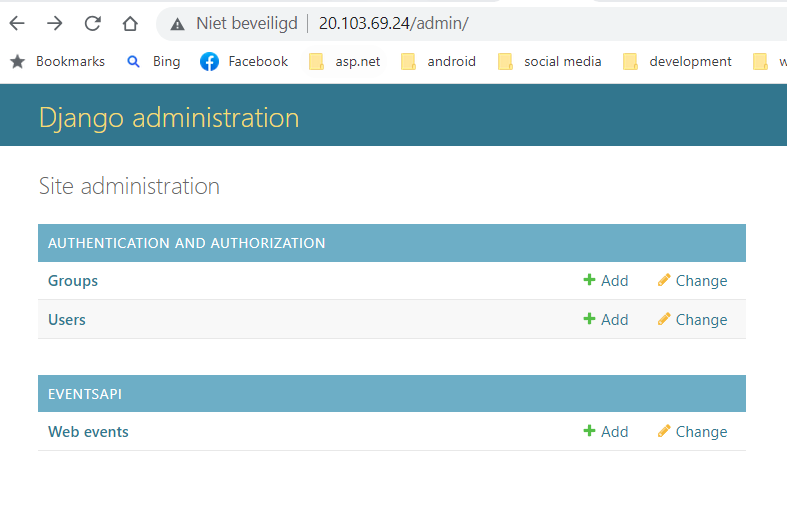
Go to the ‘eventscluster’ resource in your portal, and click on ‘Services and ingresses’. You should see a list of services. Look at the External IP address of the Nginx server. Click on that, and a browser opens.
Now make sure the URL reads ‘<your ip address>/admin’ (you will have to add admin yourself).
If all went well, you will be presented with a login screen. The username is ‘admin’ and the password is ‘secret1234’.
After logging in your will be presented with a screen like this:
Conclusion
It turns out to be quite easy to deploy a composite application like this to kubernetes, once you have the yamls in place. In the next part of our series, we will automate much of this deployment, with Github Actions. Since this deployment is quite some typing work, I probably will do one with Helm charts later on.