Introduction
In my previous two posts we set up a kubernetes deployment for a Django Rest Framework Application. If you have not followed along with those posts, the code can be found here.
It is however highly recommended that you use a webserver like Apache or Nginx as a proxy, and that is exactly what we will do in this article. For this article we will use nginx.
In order for us to deploy we need to take three steps:
- Define a configmap with the nginx configuration.
- Define a nginx deployment
- And lastly define the nginx service.
As you can see no code changes are needed.
Before you continue, make sure you have Docker/Docker desktop on, and preferable some sort of local kubernetes cluster, like minikube running.
The configmap
If you have checked out the project, open your IDE on that directory and add a ‘nginx-configmap.yaml’ file to the kubernetes directory:
apiVersion: v1
kind: ConfigMap
metadata:
  name: nginx-config
data:
  default.conf: |
    server {
        listen 80;
        server_name _;

        location / {
            proxy_pass http://web-service;
            proxy_set_header Host $http_host;
            proxy_set_header X-Real-IP $remote_addr;
            proxy_set_header X-Forwarded-For $proxy_add_x_forwarded_for;
            proxy_set_header X-Forwarded-Proto $scheme;
        }
    }
A short explanation:
- A configmap is used to define configuration values, in this case a simple nginx configuration.
- The configuration has a name ‘default.conf’. In it we define the port to listen on, and we define the proxy settings.
Save this file, and open a terminal or commandline in the kubernetes directory and type:
kubectl apply -f nginx-configmap.yamlThe Nginx deployment
Now it is time to deploy the nginx server. Add a file called ‘nginx-deployment.yaml’ to your kubernetes directory:
apiVersion: apps/v1
kind: Deployment
metadata:
  name: nginx-app
spec:
  replicas: 1
  selector:
    matchLabels:
      app: nginx-app
  template:
    metadata:
      labels:
        app: nginx-app
    spec:
      containers:
        - name: nginx-app
          image: nginx:latest
          ports:
            - containerPort: 80
          volumeMounts:
            - name: nginx-conf
              mountPath: /etc/nginx/conf.d/default.conf
              subPath: default.conf
      volumes:
        - name: nginx-conf
          configMap:
            name: nginx-config
            items:
              - key: default.conf
                path: default.conf
This is a fairly standard deployment, the nginx image is a standard docker image, and we get the latest version.
What is non-standard is that we mount a configmap as a volume, where the contents of config-map key ‘default.conf’ are treated as the contents of a file.
After you save this, type in your terminal:
kubectl apply -f nginx-deployment.yaml
The nginx service
In order for nginx to be reachable from the outside world, we need a service. Add a ‘nginx-service.yaml’ file to your kubernetes directory:
apiVersion: v1
kind: Service
metadata:
  name: nginx-service
spec:
  selector:
    app: nginx-app
  ports:
    - protocol: TCP
      port: 80
      targetPort: 80
  type: LoadBalancer
Also nothing special, just a normal loadbalancer service on port 80.
If you have saved this, type the following in your terminal:
kubectl apply -f nginx-service.yamlTesting time
If you have minikube, type:
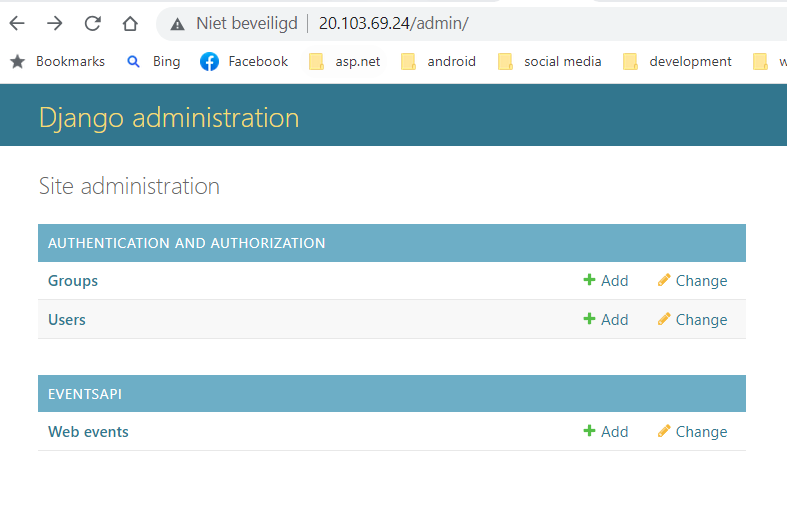
minikube service nginx-serviceIf you use a different (local) cluster, go to the external IP in your browser. You can find this out by using:
kubectl get svc nginx-serviceIn the address bar of the browser, add /admin and login.
That is all there is to it, now you can use your API through nginx.
Conclusion
Adding nginx within Kubernetes is not very difficult, and there is no reason not to do it, since it add flexibility, for instance, if you have loads of static file, you can redirect to a different webserver much more easily than for example with gunicorn.